Summary
The purpose of this article is to stand up a new Active Directory Domain with server 2016. The starting point for most people would be that they think they need a domain but have no domain controller. Usually it is just a few servers and workstations setup in a Workgroup.
Planning Your New Active Directory Domain
As with many projects, planning should be the majority of the work. If you plan properly, the execution is likely only 10% of the project.
A Domain Controller will be the DNS servers for all servers and workstations in the Domain. There are quite a few other roles that become a single point of failure with one Domain Controller. Typically a Domain will have at least two Domain Controllers for this reason.
Be prepared to modify the workstation and server DNS servers to use the new Domain Controller. If you use DHCP, we will need to modify the appropriate DHCP scope. If you do not, we can use the Domain Controller for that to ease the IP configuration management of those workstations.
I chose Server 2016 for this article because 2019 was just released and I prefer “tried and true” operating systems versus bleeding edge. Let others test out 2019 until quite a few patches have been released.
Requirements
Windows Server 2016 surprisingly has low requirements. It only requires 1 core and 512MB of RAM. Domain Controllers do not require a ton of RAM but you do want to ensure your entire Active Directory can be cached in memory. For a production Active Directory Domain that is relatively small, 1-2 core and 4GB of RAM is usually sufficient. I define relatively small as only a few hundred users. Monitoring RAM and CPU though will help you tweak this.
For the sake of this lab we will allocate 1 core, 1 gb ram and 20 25 gb hdd. During the course of this lab though I did increase the ram to 1.5 gb. During Windows Updates, it started to get low and complain.
Installing Windows 2016

When booting off the ISO or CD/DVD, it will prompt you to press any key. This is to help ensure that if Windows is already installed and the media is left attached, it will not automatically go through the install process again.
It will then prompt you for a few self-explanatory questions such as language/locale and then ask you to click “Install”.
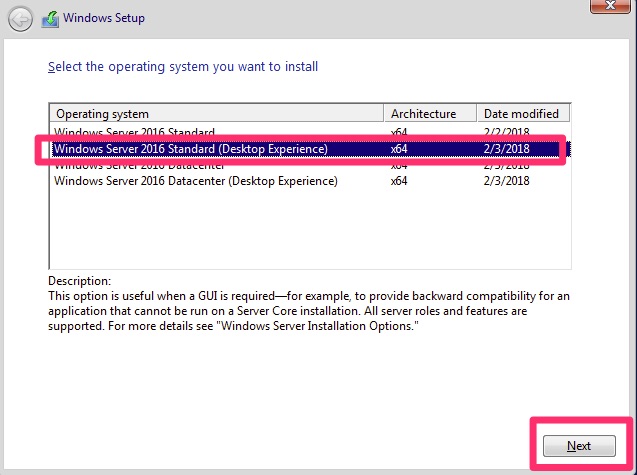
Editions
In the Windows 2008 days, there used to be Standard, Enterprise and Datacenter. Standard was the typical install. Enterprise was required for clustering servers, large amount of ram installed and a few other scenarios. Datacenter was essentially enterprise with unlimited virtualization rights and a few other limitations removed. In recent versions, many of the enterprise features were rolled into standard edition leaving us those two.
Aside from that, previously there was Server and Server Core which appears to be renamed. Core is just a shell installed without a GUI. When Windows boots up, you simply get a command prompt. For this we will install the Desktop Experience in Standard. Details about this can be further read in https://docs.microsoft.com/en-us/windows-server/get-started/getting-started-with-server-with-desktop-experience
Setup Install Steps
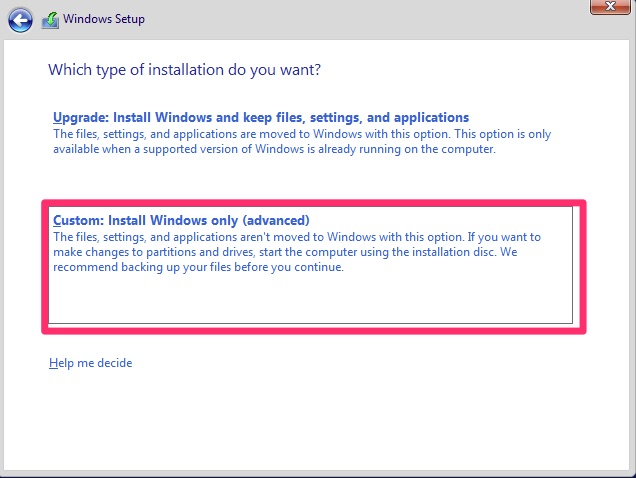
Accept the license terms on the next screen! Then choose “Custom” as we are not upgrading.
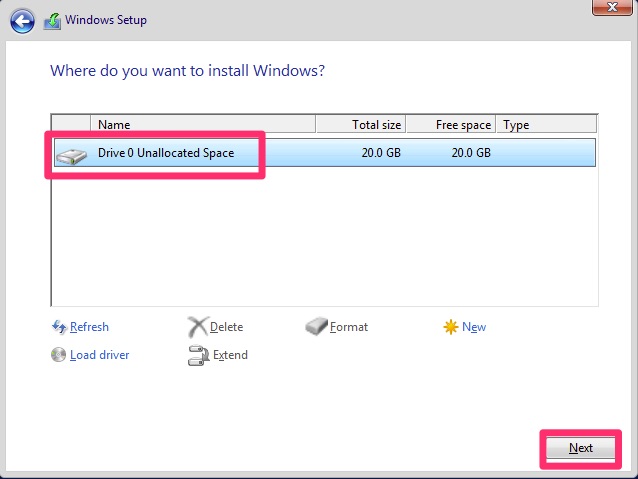
Next we will select which drive to install on. There is only one option on our server so we just click next.
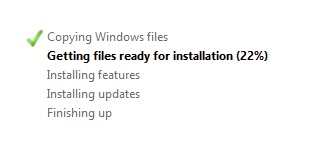
Now we are off to the races. This next step can take a while depending on the specifications of your server.
It will then automatically reboot when done if there are no issues. This will lead you into a screen to set the Administrator password. Remember this password. After we promote this Active Directory Domain Controller, it will become the Domain “Administrator” password.
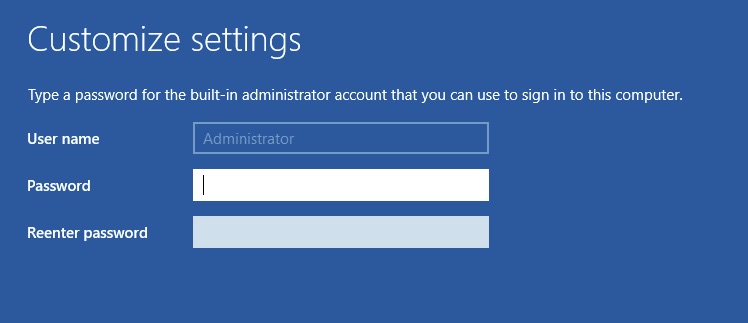
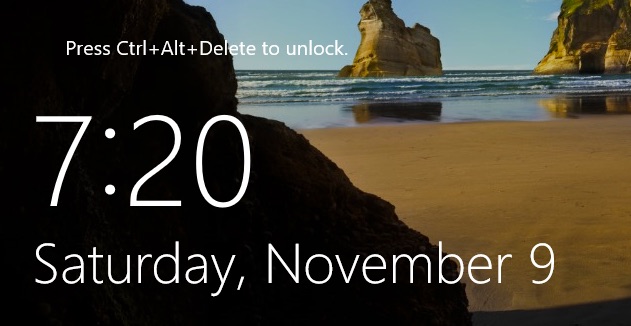
We now have a Windows 2016 Standard Server installed and ready to login.
Running Windows Updates
Every new install I do, I like to install windows updates first. This helps ensure the security of the server before bringing it into production. It also fixes any known bugs on the RTM release installed.
In Server Manager under Local Server / Windows Update. Click the boxed in area.
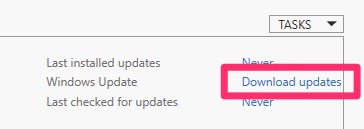
Next, Check for Updates! On a fresh install this can take some time, 20-30 minutes. The update process has to do a full inventory of installed updates, even-though this is a fresh install.
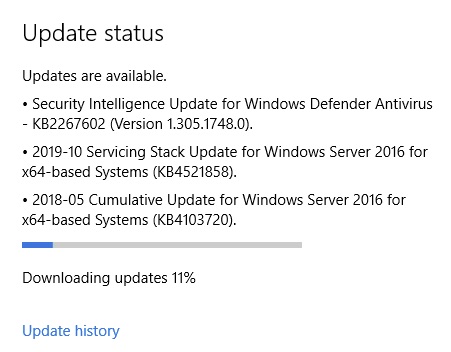
After downloading, it will naturally go through the installation which is usually a bit longer than the download.
In previous versions of Windows it may take a few iterations of updates to get fully updated. After rebooting from Windows Updates, check again to make sure this is not the case. More recent versions of Windows have been better about this.
Naming the Server
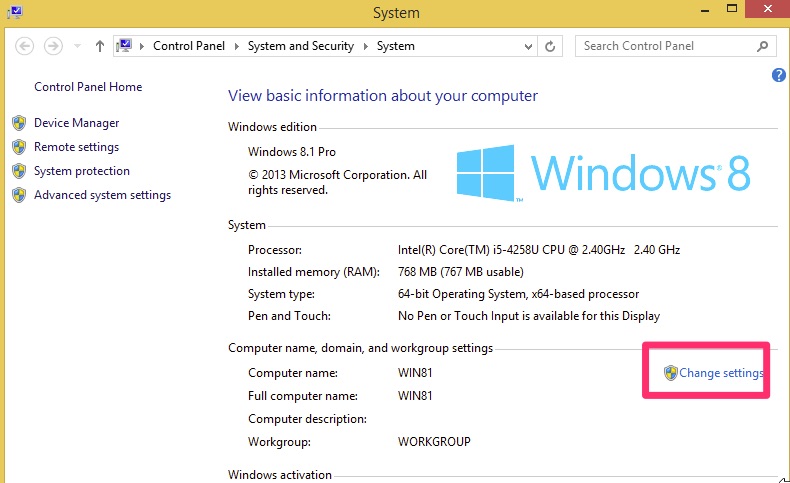
Before we get too far along, we want to choose a name for the server. Once promoting it to a Domain Controller it is difficult to change. Newer versions of Windows are better at handling this but it is less than ideal. For this lab we left the server name alone. One could argue that doing so is more secure because it is random. That said, it would be a pain to manage as you could not remember which server was where.
The name change can happen in Server Manager by clicking on the existing server name and following the prompts. It will require a reboot.
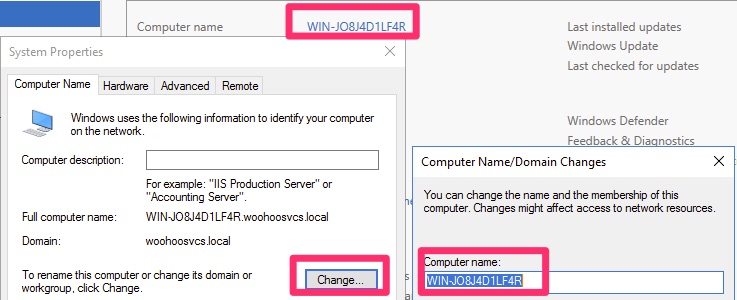
You may have caught the woohoosvcs.local in the name. It wouldn’t be here at this point but I decided to throw this in after promoting it.
Installing Active Directory Domain Services
From Server Manager choose Add Roles from the Manage Menu.
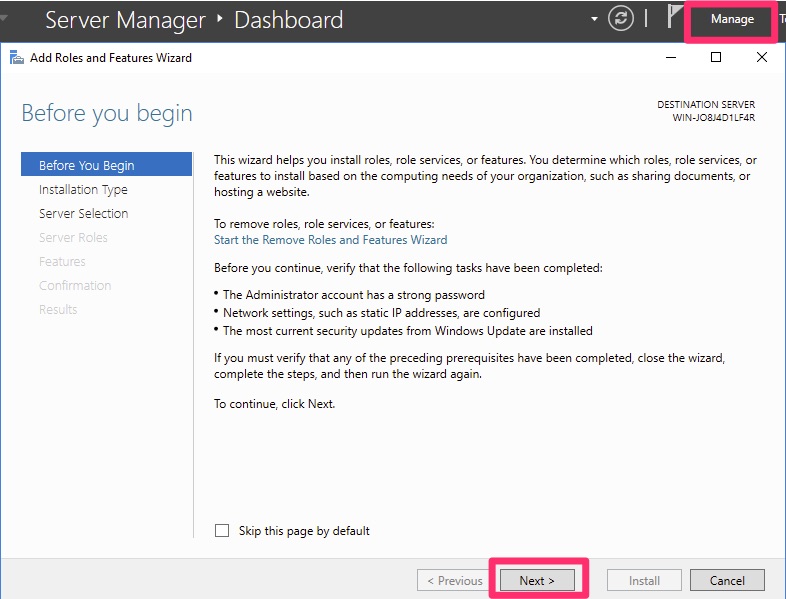
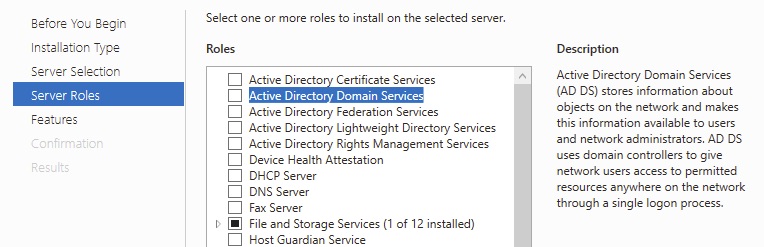
We will then select a “Role-based or feature-based installation”. The Server Manager has the ability to mange remote servers but we will choose the singular local server. We will select “Active Directory Domain Services”
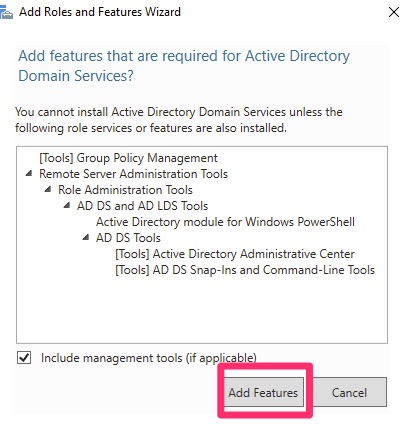
The defaults are acceptable, particularly if you want the management tools installed. Hint: You usually do unless you know you do not!
We then “next next next” though the other options and click “Install”. At the end of this we need to reboot. On the “Install” screen there is a checkbox to automatically reboot if you choose.
Finally, we have Active Directory Domain Services installed. We have not enabled them but they are there!
Promoting an Active Directory Domain Controller
Now that we have Active Directory installed, we can “promote” it. A Domain Controller before it is a Domain Controller is just a server. We then promote it to a Domain Controller. The command to do this used to be “dcpromo.exe”. It may still work although I believe it is deprecated in this version.
Promotion Wizard
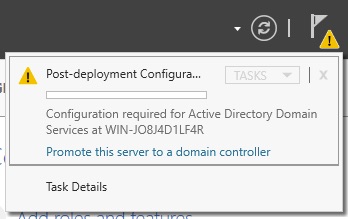
In Server Manager, click the flag with the yellow warning. It is letting us know we installed Active Directory Domain Services but never promoted it. Then click “Promote this server to a domain controller”
By default it wants you to add a domain controller to an existing domain. This is the most common use case as not everyone is standing up new domains on a regular basis.
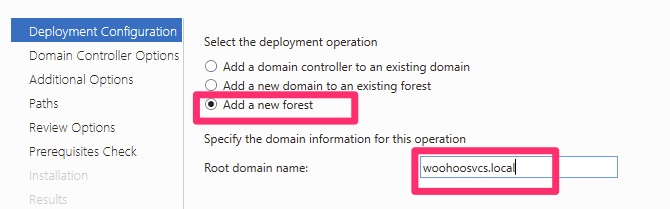
I believe Microsoft is moving away from the “.local” prefix for domains but in order to avoid a split brained DNS scenario I created a unique root domain name.
Promotion Roles and Options
The next set of questions requires some thought.
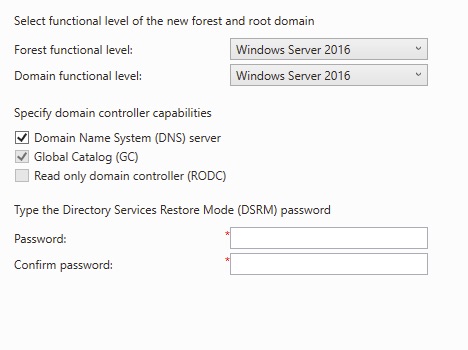
We definitely want DNS enabled. Global Catalog is required because you need at least one per domain. The DSRM password is for when you need to boot up into active directory services restore mode to help recover the Active Directory. You will notice I skipped over the functional levels.
Functional levels serve as least common denominators. A domain functional level of “Windows Server 2016” means that all domain controllers are at least at that level and you cannot promote any domain controllers from earlier versions. This allows new 2016 features to be enabled for the domain. When all of the domains are at a functional level, the forest can be increased as well.
The lowest functional level you can set with 2016 is 2008. If you do not know why you would do this, it’s best to leave this one alone. Particularly if your machines are relatively new in the past 5 years.
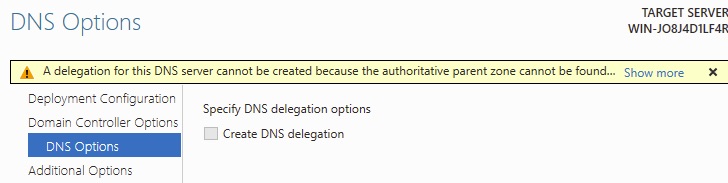
This error for DNS Delegation is normal, particularly since we have no Active Directory DNS yet!
Moving Along Our Active Directory Domain Configuration
For this document, you can accept the defaults for the next few screens but make note of the settings. On the review screen you can actually copy these and paste them into a text file somewhere.
An interesting note is that this wizard creates a configuration file that notes the changes as a playbook. Below we will walk through the prerequisite checks.
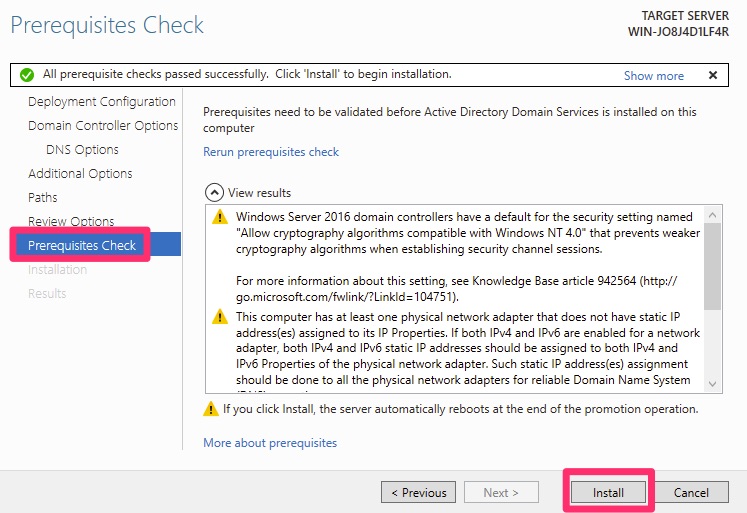
These are all normal. On a production server, the second error is correct and valid for production. In that scenario we would allocate a static IP to ensure the server keeps its up. This is particularly so, since DHCP services tend to be loaded onto a Domain Controller.
Please click install at this point. Wait a few minutes and if you are not paying attention it will automatically reboot. This is fine, you just will not see the success screen.
The next time you login to the Domain Controller you will be doing so using Active Directory Domain Services! The first boot may take a while as Group Policies and settings are applying.
Joining a Machine to Active Directory Domain Services
What good would this document be if we left it there? We need proof it actually works!
Active Directory Domain Controller IP Address
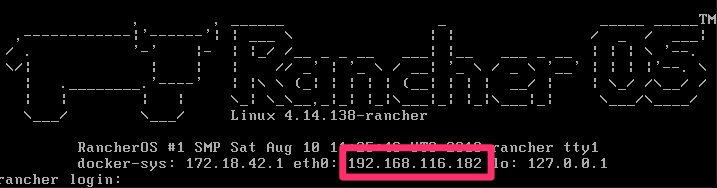
On the domain controller, let’s get it’s ip address via ipconfig command.
C:\Windows\system32>ipconfig
.....
   IPv4 Address. . . . . . . . . . . : 192.168.116.183
.....
We need this to set the Windows 8.1 Workstation’s DNS settings. The workstations use DNS to navigate Active Directory and find the resources it needs. Typically this is done via DNS SRV records.
Workstation DNS IP
On our Windows Workstation, go to the Control Panel / Network and let’s modify the DNS settings for the interface.
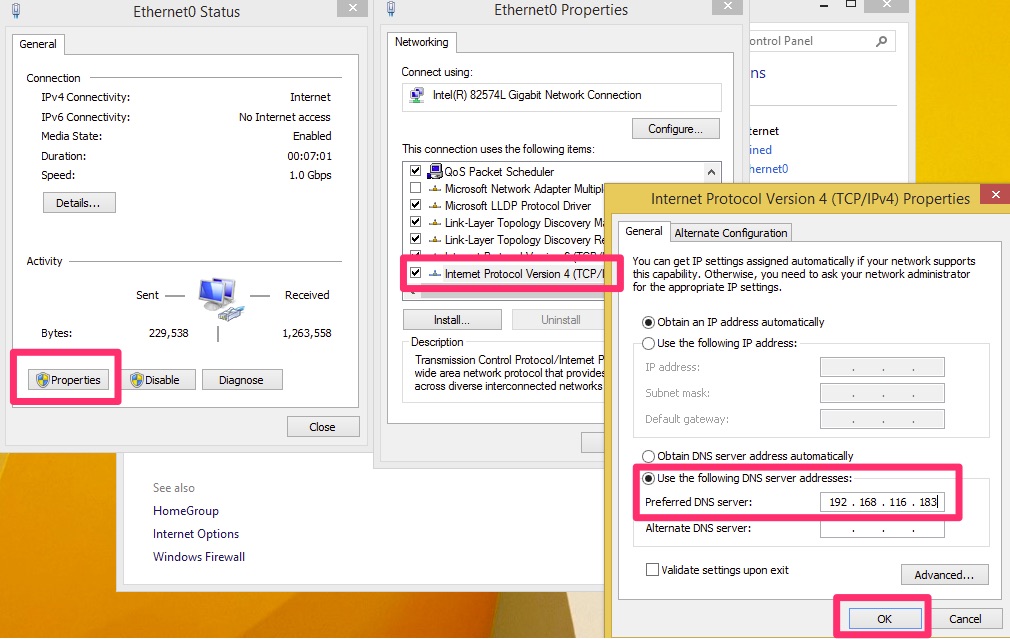
A common mistake is to add an alternate server that is a non domain controller such as Google’s 8.8.8.8. Doing so may appear to work but at some point the workstation will try to query active directory using Google and it will not quite work right.
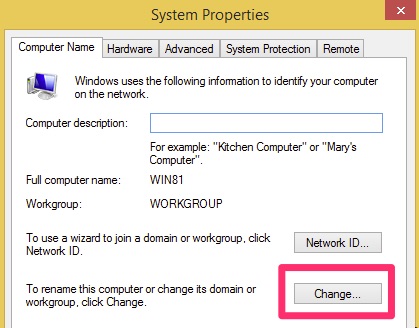
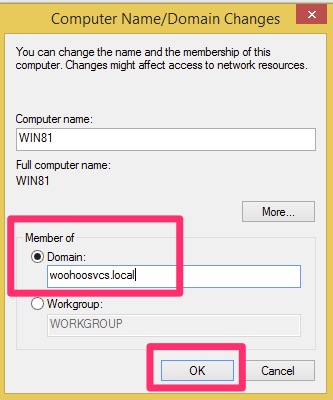
Select “Domain” and type in the domain name you chose, in this case it was “woohoosvcs.local”
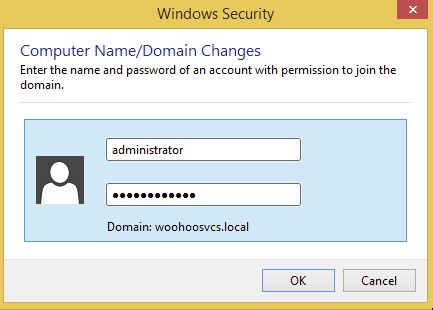
A nice tidbit is anyone can join machines to the domain but in the past regular users had a limit on the number that they could. I do not know if this is still valid but best to use a Domain Admin which “Administrator” is.
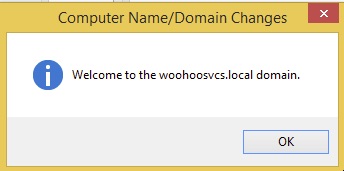
You will need to reboot and then the machine is joined to the domain. At this point there is only one domain user “Administrator”.
Final Words
This document walked us through installing Windows Server 2016. We then installed Active Directory Domain Servers and promoted the server to Domain Controller. Finally we joined a workstation to the domain.