Summary
From my previous article How I Stood Up WordPress In a Day, we stood up a “Quick and Dirty” version. It was a fast and easy setup but an all in one. What happens if your WordPress site really takes off? This is not highly scalable as it is limited to the resources of the box. Perhaps your hosting provider lets you increase the size of the VM.
Scaling WordPress
Eventually you will get to a point where you reach the max. This is called vertical scaling. It is one of the easier methods but only gets so far and leads to monolithic infrastructures.
We need to be able to horizontally scale but adding highly redundant nodes. The database is the first piece of this. Since we implemented in Google Cloud, we will be using their managed SQL instance. In AWS this is called RDS.
Another issue we do not yet address is the fact that images are stored locally on the WordPress server itself. We will address that later on and provide a link to that article. Here is our article on that – Moving WordPress Images To Google Storage.
With that said, removing MySQL server from the WordPress server does leave more resources for the WordPress server itself.
Backup
Always run a backup before a major change. In this case we use Google Disk Snapshots for our Google VM and took one before.
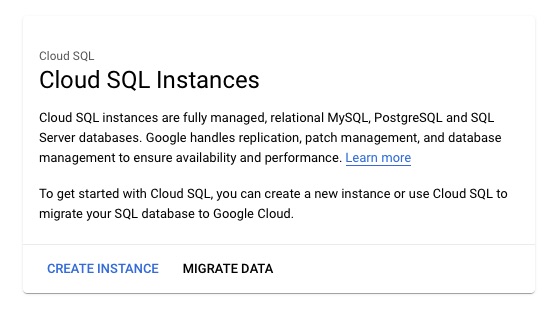
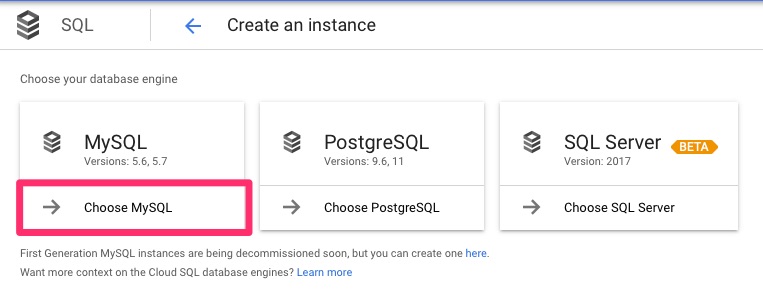
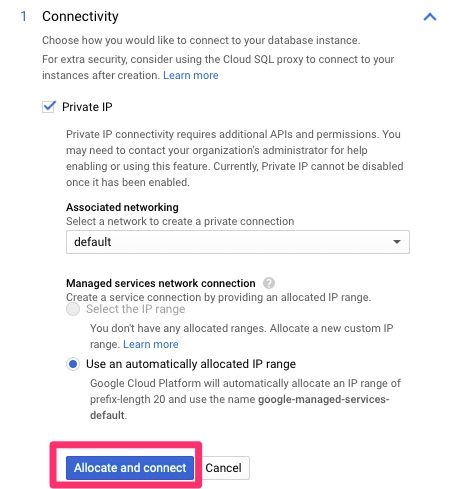
Provisioning Google MySQL
For this, we opted the “create” method. Google does have the “migrate” option which involves adding the new instance as a read replica. This is a small WordPress site so we will simply create a backup and restore it and go from there.

Connecting to Google MySQL Instance
Here we will connect from the VM to the instance as root. You can see the Server version includes “Google”. We will then create the wordpress database and access. This is not the most secure of GRANT but we are copying what was there. It can be locked down based on best practices. The CREATE options will be highly dependent on your existing setup and we’ll talk about it further in the troubleshooting options
$ mysql -h 10.30.128.3 -u root -p
Enter password:
Welcome to the MySQL monitor.  Commands end with ; or \g.
Your MySQL connection id is 50
Server version: 5.7.14-google-log (Google)

Copyright (c) 2000, 2019, Oracle and/or its affiliates. All rights reserved.

Oracle is a registered trademark of Oracle Corporation and/or its
affiliates. Other names may be trademarks of their respective
owners.

Type 'help;' or '\h' for help. Type '\c' to clear the current input statement.

mysql> CREATE DATABASE wordpress CHARACTER SET latin1 COLLATE latin1_swedish_ci;
mysql> GRANT ALL PRIVILEGES ON wordpress.* TO "wordpress"@"%" IDENTIFIED BY "XXXXXXXXXX";

mysql> FLUSH PRIVILEGES;

mysql> quit;
Now we need to backup the existing wordpress database
$ mysqladmin -u wordpress -p wordpress > 20191107-wordpress.sqlAnd then import it
$ mysql -h 10.30.128.3 -u wordpress -p wordpress < 20191107-wordpress.sql
Enter password:
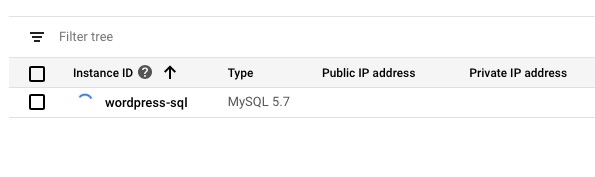
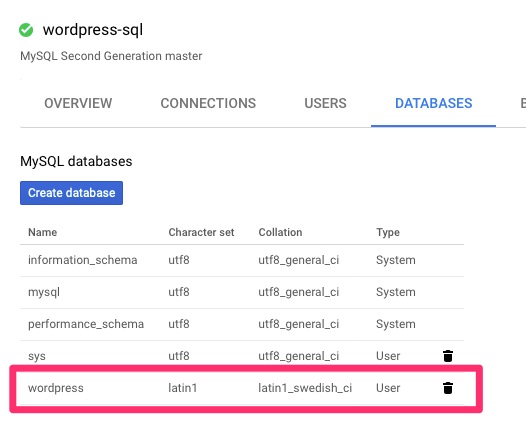
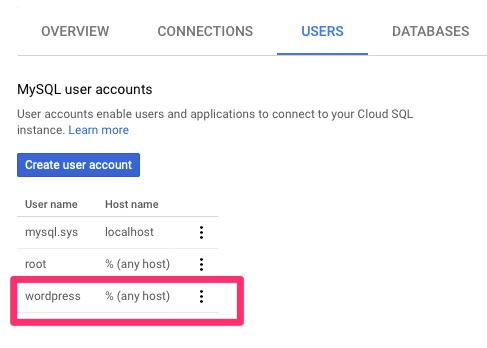
$ Validation
In the Google console we can then validate this.
WordPress Config
We need to modify wp-config.php as follows. If your user and password changed, those need to be updated as well.
// ** MySQL settings - You can get this info from your web host ** //
/** The name of the database for WordPress */
define( 'DB_NAME', 'wordpress' );

/** MySQL database username */
define( 'DB_USER', 'wordpress' );

/** MySQL database password */
define( 'DB_PASSWORD', 'XXXXXX' );

/** MySQL hostname */
#define( 'DB_HOST', 'localhost' );
define( 'DB_HOST', '10.30.128.3' );
Testing
Once you save the changes go to your WordPress site and test. If you get an install.php page, stop right there and back out the change. We have some troubleshooting steps below.
Backup Again!
If validation is successful, run a backup again, both in for the Google disk snapshot for the VM and in the Google MySQL instance. This way we have a known good immediately following the migration.
It is highly recommended to backup before you perform any of the short or long term decommission.
Troubleshooting
There are a few causes to get redirected to the install.php page
- Incorrect database settings, including host, user, password, database name and table prefixes
- Collation/Characterset – case insensitive versus sensitive
- Not actually importing the database
- Improper wordpress user permissions
Collation
This can be checked using the following commands. It is best to keep the same settings when creating. It is also described here – https://stackoverflow.com/questions/9827164/wordpress-keeps-redirecting-to-install-php-after-migration
mysql> SELECT @@character_set_database, @@collation_database;
+--------------------------+----------------------+
| @@character_set_database | @@collation_database |
+--------------------------+----------------------+
| latin1                   | latin1_swedish_ci    |
+--------------------------+----------------------+
1 row in set (0.00 sec)
Database Connectivity
The others can be wrapped up into database connectivity. We tested this by connecting as the wordpress user and importing as that user after the database was connected.
Decomissioning old database
At each of these steps it is important to test the site to ensure it doesn’t break. If you are still somehow pointing to your local mysql instance, it can break. You will definitely find that out during these steps.
Short Term
We do not want old mysql data laying around so the first steps to complete afterwards are to disable and shutdown mysql. This also helps us confirm we are using the new MySQL instance.
$ sudo systemctl stop mysql
$ sudo systemctl disable mysql
Synchronizing state of mysql.service with SysV service script with /lib/systemd/systemd-sysv-install.
Executing: /lib/systemd/systemd-sysv-install disable mysql
Removed /etc/systemd/system/multi-user.target.wants/mysql.service.
Long Term
Long term we want to delete the backup so we don’t have extra data laying around and remove mysql and its database files.
$ sudo apt-get remove --purge mysql-server mysql-community-server
Now let’s remove our backup.
$ rm 20191107-wordpress.sql Final Words
At this point we have accomplished scaling to a potentially highly available database. This database also can be dynamically sized to accommodate extra load. For the sake of this article, we chose the smallest size possible due to the current load. Should this go viral though, the database can easily be scaled.