Summary
CloudFlare provides VPN tunnels between your web application and the CloudFlare network for private and direct access. There are a multitude of use cases for this. The nice part about this is the tunnels are available in all tiers (including free).
Use Cases
The main use case for this is Least Privileged Security. Without tunnels, the common use case for CloudFlare is to add ACLs to your edge allowing in connections from CloudFlare. With Tunnels you run an appliance or daemon/service internally that creates an outbound tunnel to CloudFlare for your web applications. What this allows is only allowing egress traffic, worst case. Best case only opening up FQDN based whitelists on specific ports to CloudFlare’s network to allow the tunnel to negotiate. In essence, only allowing specific outbound connections needed to support the applications.
An interesting secondary use case for this is self-hosting of your web application. Years ago if you wanted to self-host something at your home, you would have to either ask your ISP for a static IP or use a Dynamic DNS provider that would constantly update your DNS with your IP. With CloudFlare Tunnels, once configured, the tunnel will come up regardless of your location or IP address. This is great for self-hosting at home (when you can’t afford a cloud provider and want to reuse some equipment) or even having a local lab that you want to share out to friends for testing.
Technical Setup
There are other articles that walk through the setup and it really depends on your implementation but I will share a few links of what I did to setup a Kubernetes lab up with CloudFlare Tunnels to expose my local lab running podman + kind + Kubernetes with a custom app I wrote onto the Internet.
This is a create tutorial by CloudFlare on the steps – https://developers.cloudflare.com/cloudflare-one/tutorials/many-cfd-one-tunnel/
Some of the dependencies for it are to
- Have a working Kubernetes cluster. For a quick lab, I highly recommend kind+podman but many use minikube.
- Have a local cloudflared that you can run to setup the tunnel and access token
One of the tweaks I had to make though is that the cloudflared manifest is a bit dated. As of the time of this writing I made the following changes
#Image was set to 2022.3.0 which did not even start
image: cloudflare/cloudflared:2024.3.0

# Reduce replicas - this was a lab with a single node!
replicas: 1

# Update the ingress section.
# This maps the CloudFlare proxied address to a kubernetes service address.
# Since cloudflared runs int the cluster it will use K8 DNS to resolve
    - hostname: k8s-fcos-macos.woohoosvcs.com
      service: http://tools-service:80
Don’t forget to import the secret from the CloudFlare instructions!
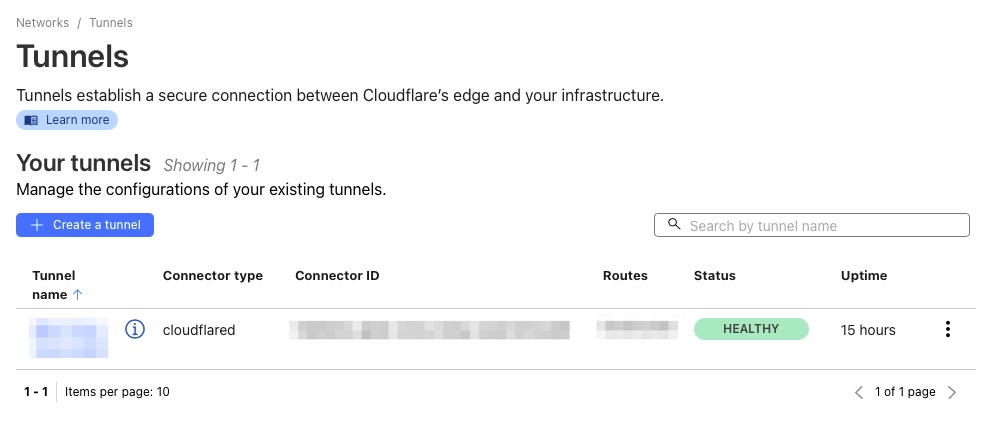
If setup properly you’ll see success!
More Than Tunnels
This is just the beginning. This is just a piece of the full Zero Trust Offering by Cloud Flare. It is a bit out of scope for this article but the nice part about CloudFlare is a lot of it is set it and forget it and let them manage once its configured properly.
Conclusion
Whether you are a large enterprise needing full Zero Trust or just a startup hosting a few servers out of your garage off your home internet, CloudFlare has tiers and offerings that can meet your budget. Its a great tool that I have used for this site and my https://tools.woohoosvcs.com/ for a number of years.