Summary
Over the past few days I put a few hours towards writing a web app to perform some basic CIDR subnet calculations. I wanted to both share the link to it ( https://tools.woohoosvcs.com/subnetcalculator/ ). I also wanted to walk through how I deployed it to Google App Engine.
What is a Subnet Calculator?
When provisioning subnets you typically need to determine your requirements. Determining the size of the subnet based on the number of hosts or what the mask will be can take a little bit of time. This is particularly so when you do not calculate this often. Subnet calculators help save some time on this.
Why did I do it?
I have written a few over the years. My early ones were written in C. Golang has a few libraries though in the new package to help with this. I had to use one the other day and figured why not quite my own. While doing this, why not share how to deploy your own app?
Deploying Golang on Google App Engine
In this, we assume you already have the Google SDK. We walked through this in Hello World From Google App Engine Via PHP.
As with any App Engine app, we need an app.yaml. Mine looks like this
runtime: go112
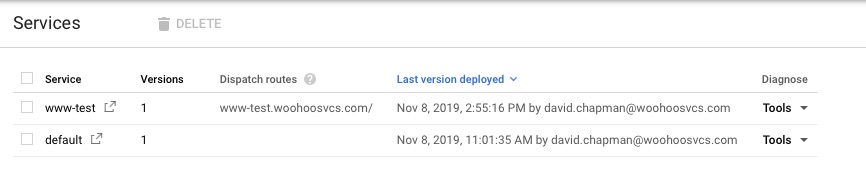
service: tools
handlers:
- url: /view\.html
static_files: view.html
upload: view.htmlI have a main.go file and a static view.html file. Since I already have a default service I am calling this one service. That requires I use a dispatch for my custom domain name.
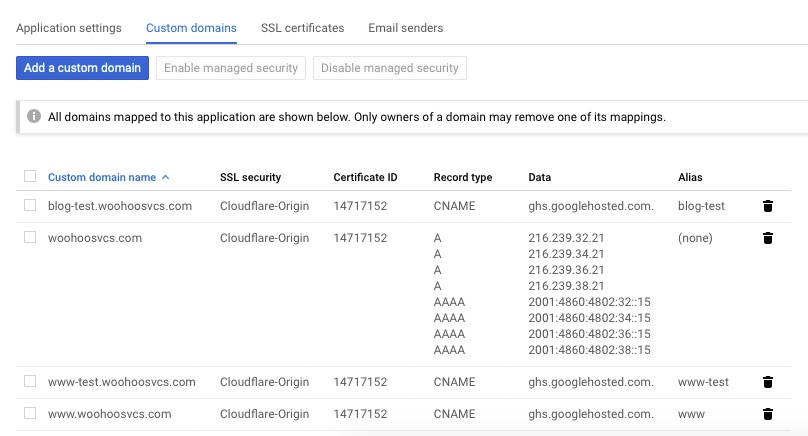
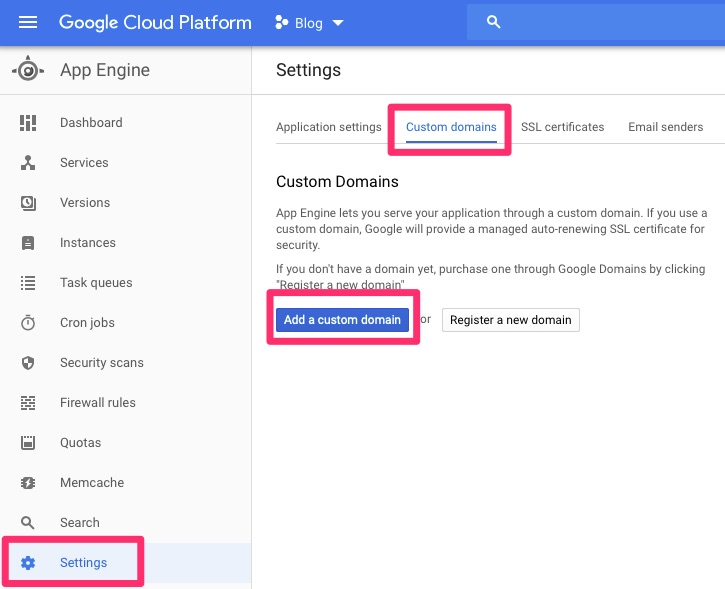
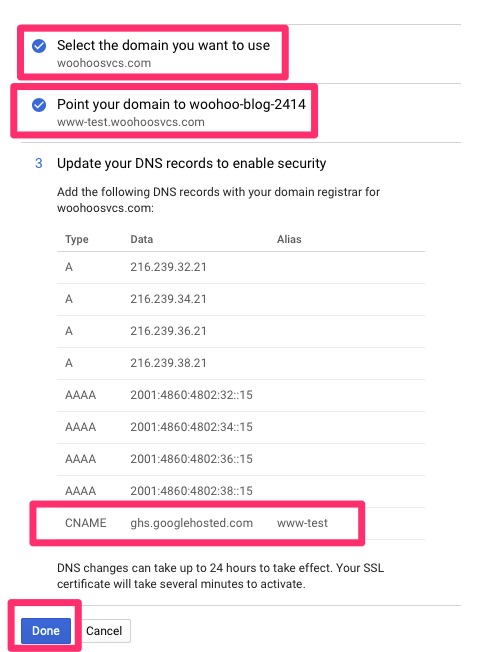
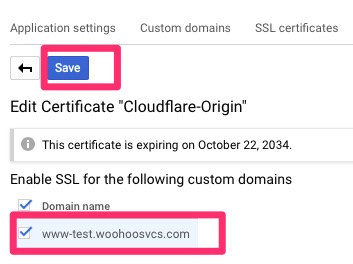
Don’t forget to add the custom domain to the Settings section!
dispatch:
- url: "tools.woohoosvcs.com/*"
  service: tools
The easiest way to get a Golang app running is as follow. The Google App Engine will run the main function in the main package. Google App Engine sets the PORT environment variable.
package main

func main() {
        port := os.Getenv("PORT")
        if port == "" {
                port = "8080"
                log.Printf("Defaulting to port %s", port)
        }

        http.HandleFunc("/subnetcalculator/", viewSubnetCalculator)

        log.Printf("Listening on port %s", port)
        if err := http.ListenAndServe(":"+port, nil); err != nil {
                log.Fatal(err)
        }
}

// This is the main page to view the Subnet Calculator
func viewSubnetCalculator(w http.ResponseWriter, r *http.Request) {
        http.ServeFile(w, r, "./view.html")
}
The best practice for this would dictate a separate main.go importing your own package but if you were familiar enough with that, you may not need this article.
It is out of scope for this article but “http.HandleFunc(“/subnetcalculator/”, viewSubnetCalculator)” tells Golang that the “/subnetcalculator/” URI be directed to the “viewSubnetCalculator” function. That function simply displays the view.html file
From there we simply run the following. I have tools.woohoosvcs.com under the same parent as dispatch.yaml
cd tools.woohoosvcs.com
gcloud app deploy

cd ..
gcloud app deploy dispatch/dispatch.yaml
Securing Google App Engine
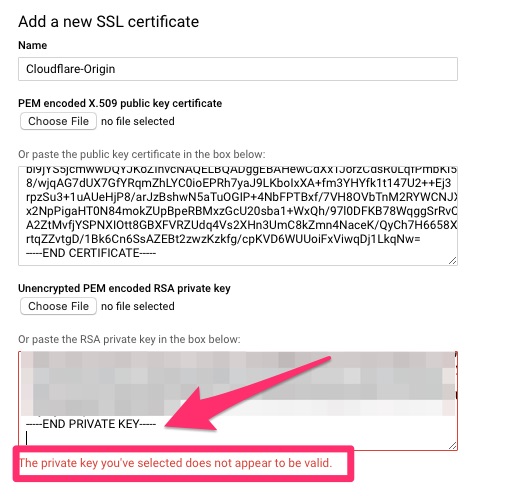
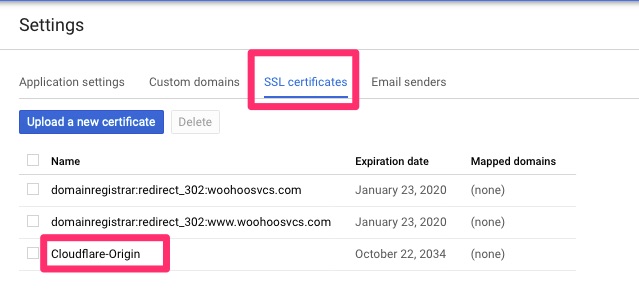
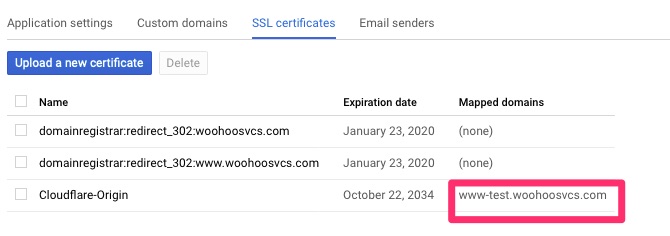
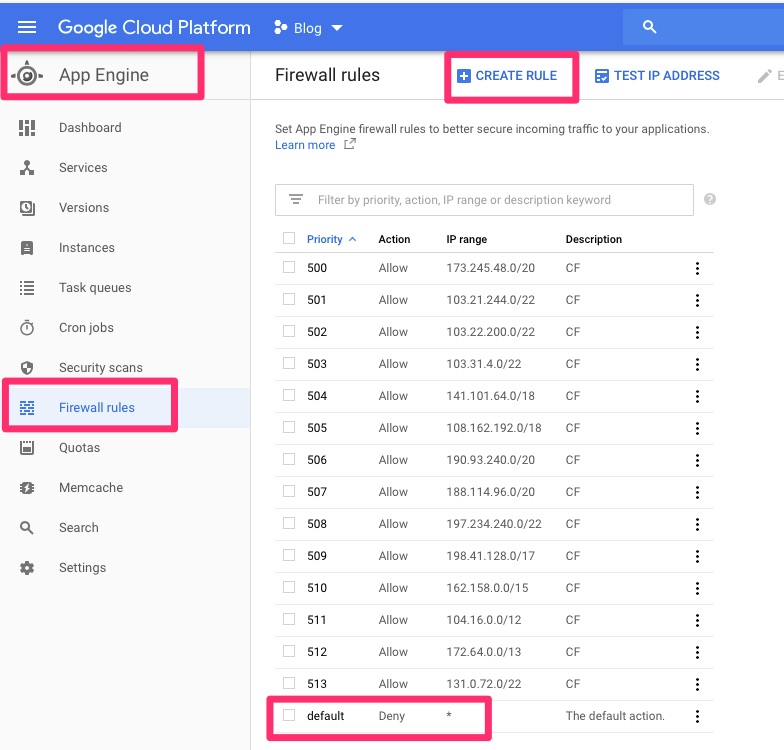
If you use a Web Application Firewall like Cloudflare, don’t forget to ACL GAE to only allow connections from it. Otherwise, it can be completely bypassed
Final Words
This was just a quick and dirty deploy of a golang app to Google App Engine. As with all the apps though, I run them through Cloudflare or at least some sort of Web Application Firewall.