Summary
The purpose of this guide is to provide a high level overview of CheckMK. CheckMK is a great monitoring tool that has progressed greatly over the years. I have heavily depended on it for at least 3 years now.
Background
I came across CheckMK on a project that required a shot gun replacement of the current monitoring solution. A few solutions were vetted and Nagios was attempted. Unfortunately, the time to tweak and tune it was not compatible with the project timelines.
About CheckMK
CheckMK is an ecosystem that original was built around nagios. Many of the components of Nagios exist. Mathias Kettner is the founder of CheckMK.
There are quite a few editions but the scope of this is for the “Raw” edition. This is essentially the free unlimited tier.
Installation
Enough of the background, let’s get down to the technical installation
Requirements
For the purposes of this installation, we will be using a vanilla “minimal” install of CentOS 7.0. CentOS 7 is the latest supported version CheckMK supports. The VM will have 1 core, 1GB RAM and 8GB HDD. We will first be installing 1.4.0 so that the upgrade process can be shown.
curl -O https://checkmk.com/support/1.4.0p38/check-mk-raw-1.4.0p38-el7-85.x86_64.rpm

curl -O https://checkmk.com/support/1.5.0p23/check-mk-raw-1.5.0p23-el7-38.x86_64.rpm

# Always good to update first!
yum update

# Enable EPEL package repo
yum install https://dl.fedoraproject.org/pub/epel/epel-release-latest-7.noarch.rpm

# Then attempt to install
yum install check-mk-raw-1.4.0p38-el7-85.x86_64.rpm
Ok, great, ran through all of that. What’s next?
Configuration
Open Monitoring Distribution
CheckMK builds upon a framework called Open Monitoring Distribution (OMD). You may be asking, why the complexity? OMD makes upgrades quite useful and can allow you to run multiple versions of CheckMK on the same machine as OMD also allows multiple instances. The CheckMK rpms install this.
The first step after installing CheckMK will be to create an OMD site
# Here you can see there are no sites
[root@chckmk1 ~]# omd sites
SITE             VERSION          COMMENTS

# We then create a site
[root@chckmk1 ~]# omd create main
Adding /opt/omd/sites/main/tmp to /etc/fstab.
Creating temporary filesystem /omd/sites/main/tmp...OK
Restarting Apache...OK
Created new site main with version 1.4.0p38.cre.

  The site can be started with omd start main.
  The default web UI is available at http://chckmk1.woohoosvcs.com/main/

  The admin user for the web applications is cmkadmin with password: OkWZHNQr
  (It can be changed with 'htpasswd -m ~/etc/htpasswd cmkadmin' as site user.
)
  Please do a su - main for administration of this site.


[root@chckmk1 ~]# omd sites
SITE             VERSION          COMMENTS
main             1.4.0p38.cre     default version

[root@chckmk1 ~]# omd start main
Starting mkeventd...OK
Starting rrdcached...OK
Starting npcd...OK
Starting nagios...2019-11-02 15:43:45 [6] updating log file index
2019-11-02 15:43:45 [6] updating log file index
OK
Starting dedicated Apache for site main...OK
Initializing Crontab...OK

# Open port 80 with firewalld
[root@chckmk1 ~]# firewall-cmd --zone=public --add-service=http --permanent
success
[root@chckmk1 ~]# firewall-cmd --reload

# Set SELINUX

setsebool -P httpd_can_network_connect 1
If everything went well, you should be able to browse to the IP or URL and get a login page.
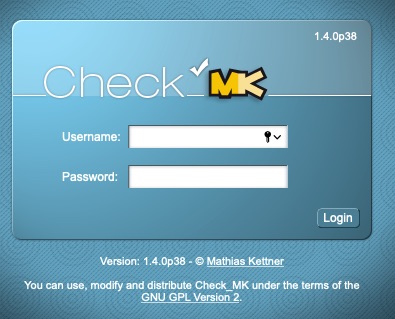
CheckMK 1.4.0 Login Page
It is really that simple. You now have a working CheckMK instance ready to be configured.
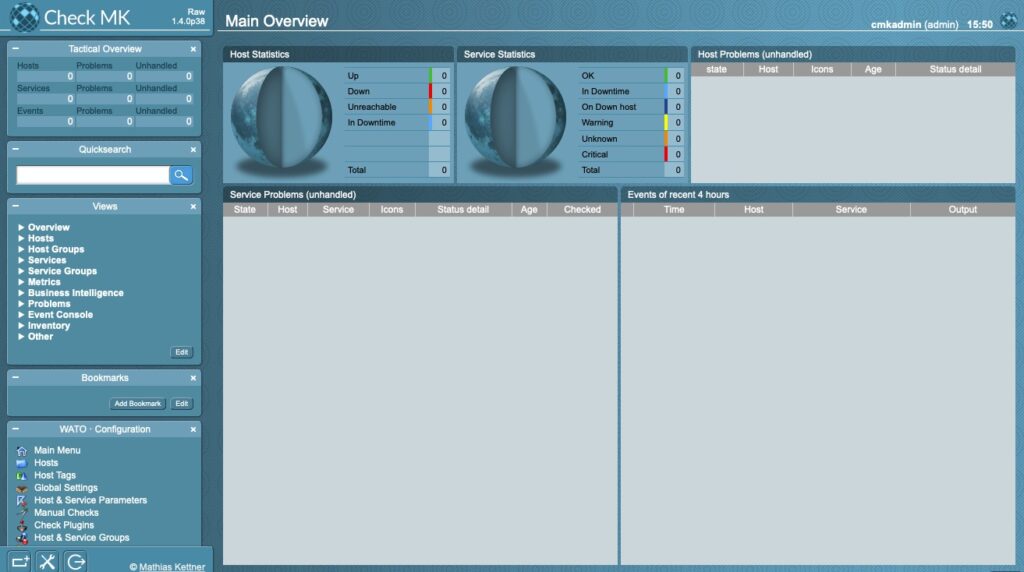
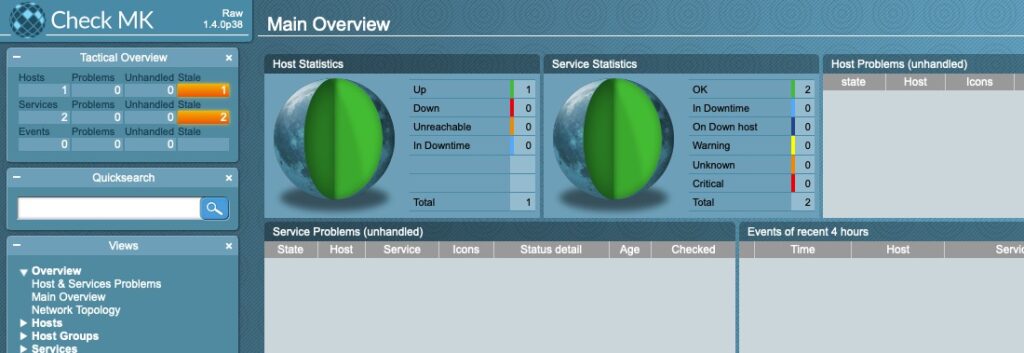
CheckMK Main Page
Configuring CheckMK Application
Now that we have a working instance and want to actually monitor something, why not the CheckMK server itself? There are a few options for this. You can use SNMP, CheckMK Agent or both. We will go over installing and configuring the agent.
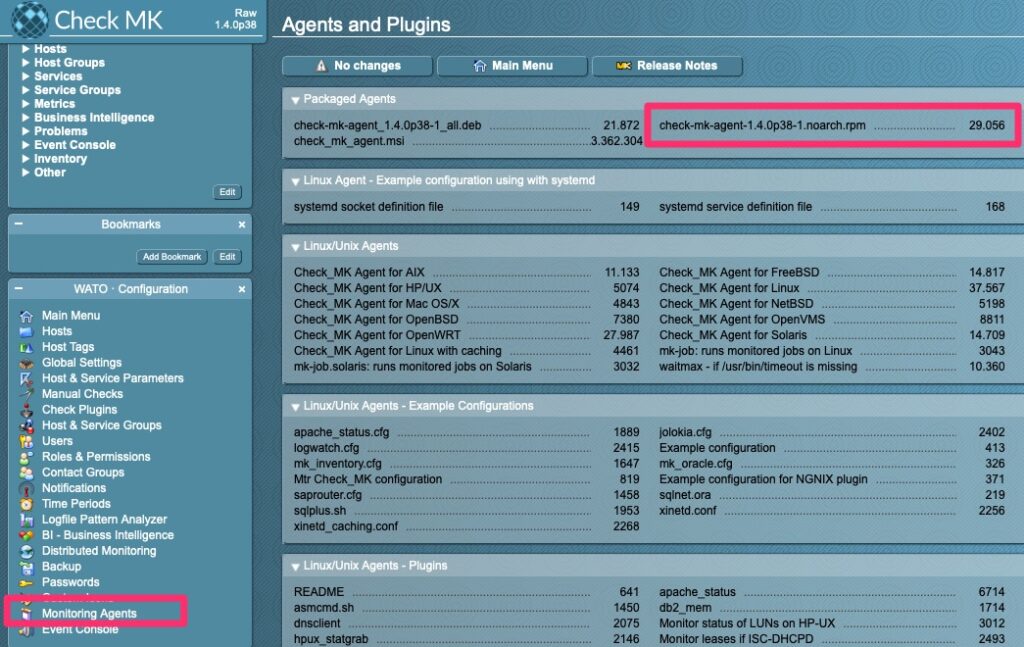
Installing the CheckMK Agent
The agent requires xinetd as it essentially ties a script (the agent) to a socket/tcp port (6556). We will put the agent directly on the checkmk server.
The agents can be found in the “Monitoring Agents” section. For RPM based distributions it is easy to just install the RPM.
[root@chckmk1 ~]# curl -O http://chckmk1.woohoosvcs.com/main/check_mk/agents/check-mk-agent-1.4.0p38-1.noarch.rpm
[root@chckmk1 ~]# yum install check-mk-agent-1.4.0p38-1.noarch.rpm
[root@chckmk1 ~]# netstat -an | grep 6556
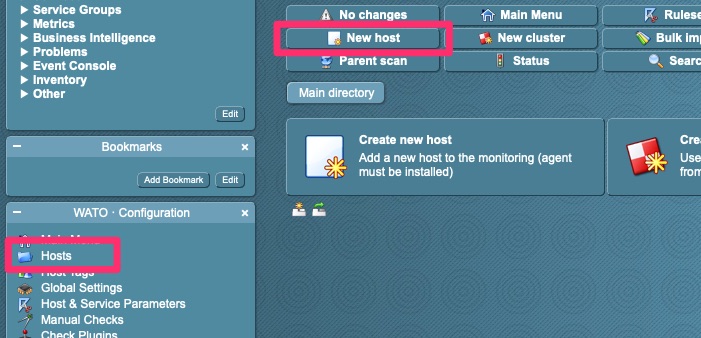
tcp6 0 0 :::6556 :::* LISTEN Adding Host
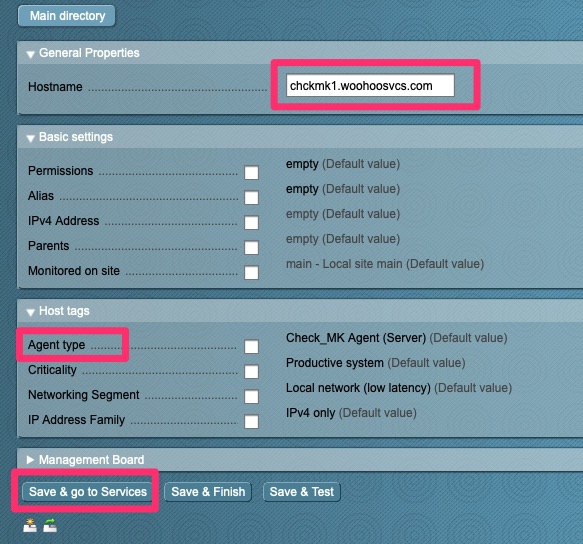
Now we get to add the host to CheckMK
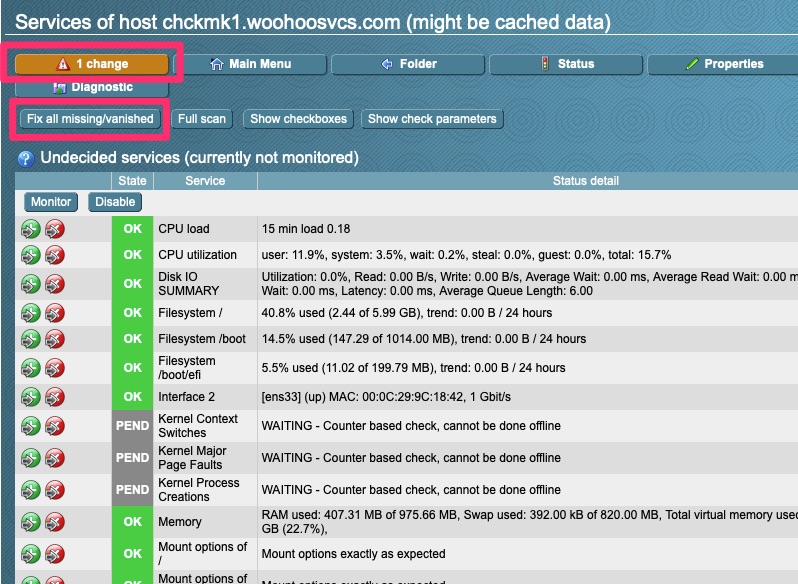

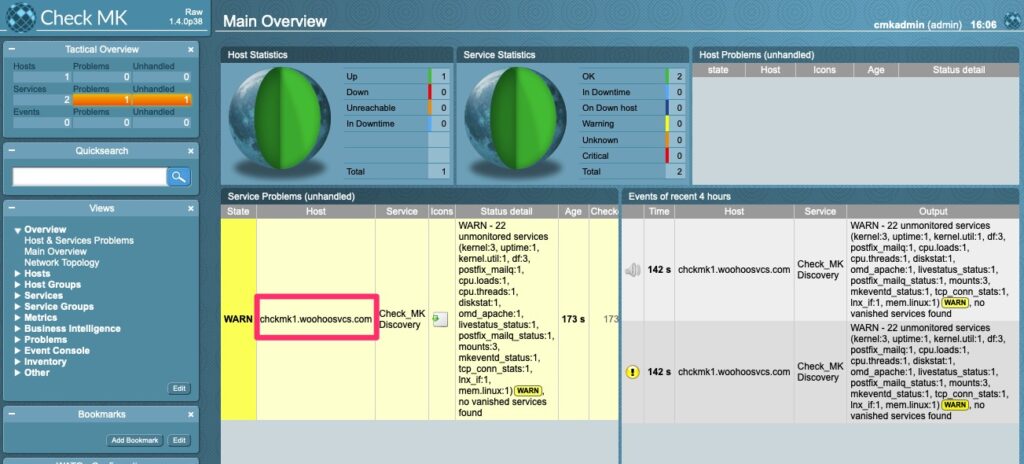
At this point, we added a host and added some metrics to it. It ran through a discovery and found some more. Many times this happens. This is because some checks run asynchronously in the background. The first time you check a host, it does not return all of the services. On the second run they show up. From here you can go through similar steps to click on the host and acknowledge the new services.
In this case I simply forgot to follow my own instructions and click the “fix button”. Likely more services would have shown up later but not as many in the screenshot.
Other Configurations
Just because we have a monitoring system in place does not mean it is fully configured. We still have notifications, alert levels and many other tuning. Those are out of scope of this document but I will likely generate them going forward.
Final Words
We stood up a Check_MK server from scratch and are monitoring one host. At the beginning of the article I discussed upgrading. I will follow up with another article on upgrading. The process is fairly simple but there
- Next – Upgrading CheckMK
- Next – CheckMK Distributed Monitoring